Introduction
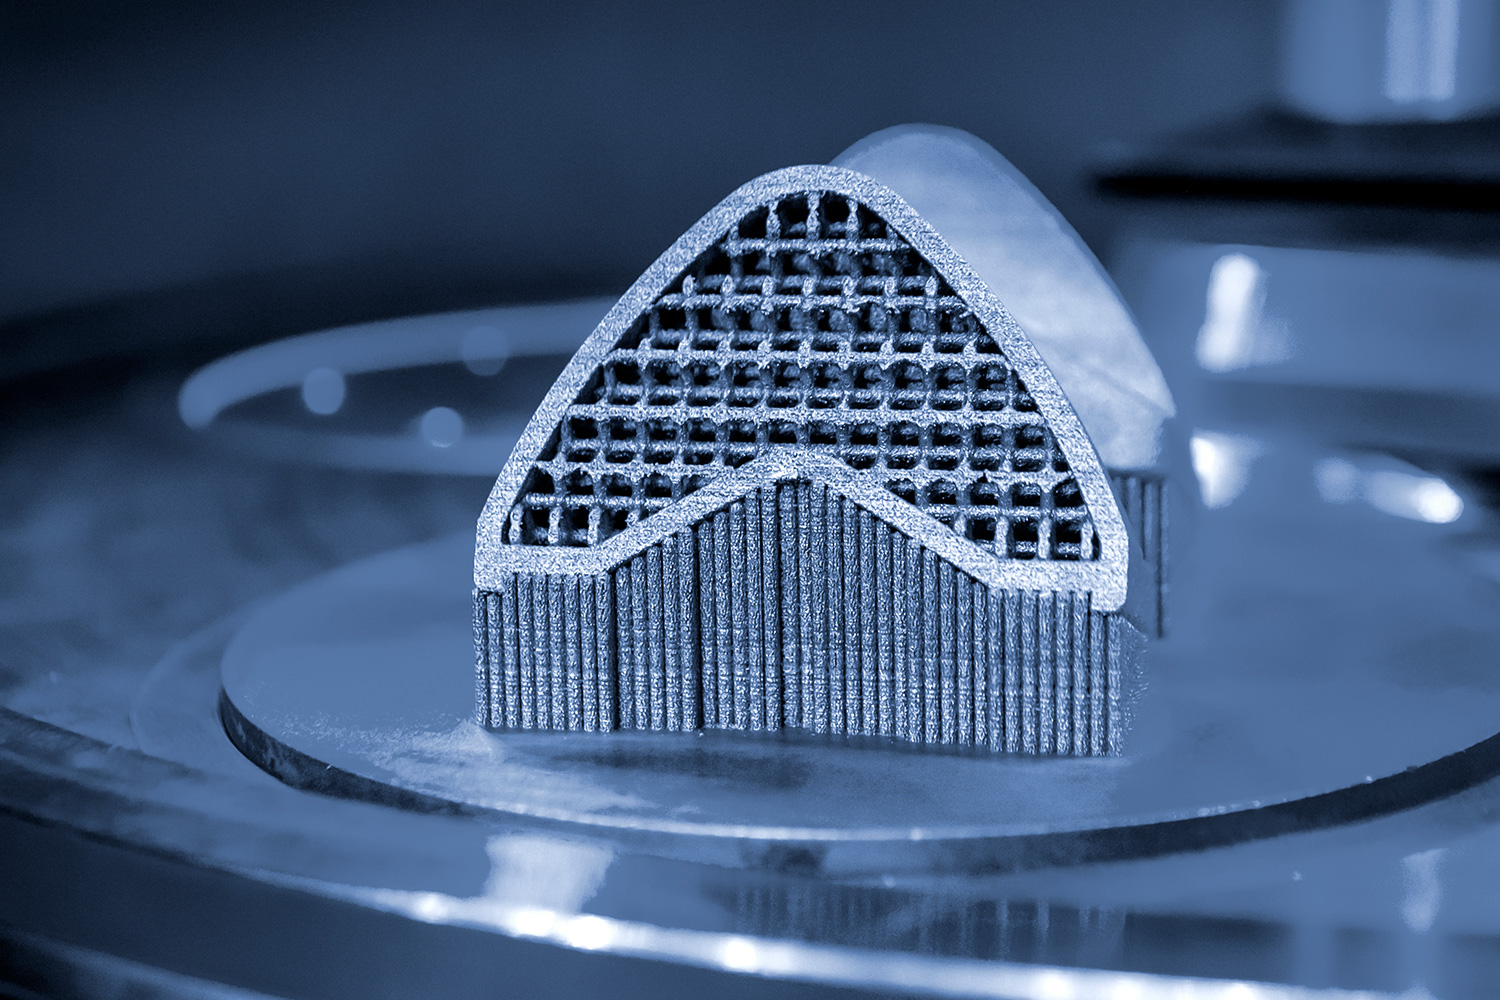
From supersonic jets to prosthetic knees, 3D-printed parts are revolutionizing design and production across industries. Printed components are no longer just prototypes, but now perform critical functions in the realms of aerospace, medical, dental, automotive, and beyond.
Metal additive manufacturing involves fusing particles together in a controlled manner, layer by layer, to create a solid 3D object. On the microscopic level, individual particles must flow, melt, and merge together to form the final structure. A single inclusion or void, created by contaminants or structural defects present in the feedstock, can introduce critical flaws in the finished part. It is therefore essential to validate feedstock particle quality with a standardized method to ensure reliably manufactured parts. This is typically achieved through comprehensive particle analysis that combines data on morphology, geometry, and composition of the particles.
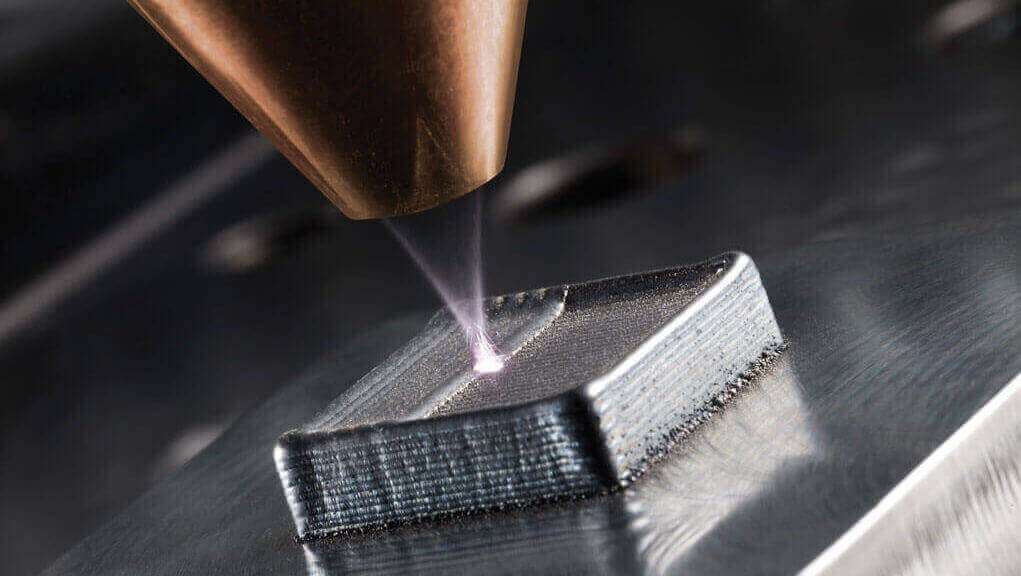
Particle size and morphology significantly influence flow and packing behavior during 3D printing. Smaller particles enable finer feature resolution but also tend to agglomerate, whereas larger particles spread layers more evenly. The optimal size range to be used for a part will depend on the actual additive manufacturing technique and component geometry. Regardless of the process, tight control of powder feedstock size distribution and morphology is crucial.
The elemental composition of feedstock directly determines mechanical properties like strength, fatigue, resistance, and conductivity. Even barely detectable trace impurities or slight deviations from alloy targets can critically undermine real-world performance of some 3D-printed products. For reactive metals like titanium and aluminum, surface oxidation also affects how particles fuse together during sintering.
Therefore, correlating size, shape, and elemental information for a statistically relevant sample size of individual feedstock particles provides invaluable insights to maintain quality control and process parameter optimization in the additive manufacturing industry.

Laser Diffraction Illuminates Particle Size Distributions
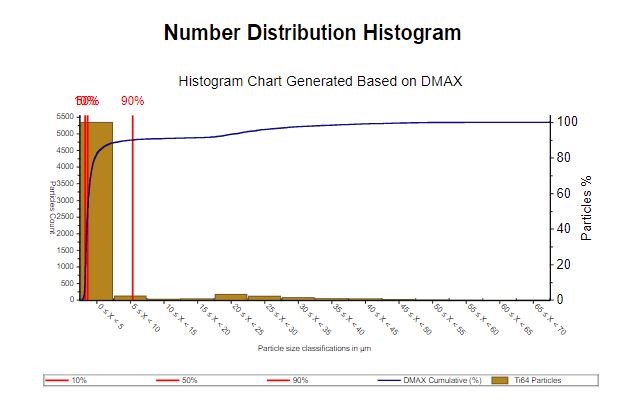
Laser diffraction is an established technique to measure particle size distributions from bulk powder samples. It works by analyzing a laser beam’s scattering angles as a dispersion of particles flows through its path. The scattering angles, collected using an array of detectors, can be used to determine the particle size distribution.
This technique rapidly analyzes thousands of particles in minutes, generating statistically robust cumulative-size histograms. However, it assumes that the particles all take spherical shapes. While providing sphere-equivalent diameters, laser diffraction cannot directly assess particle morphology. Differentiating larger particles from agglomeration smaller particles is not feasible using laser diffraction. Supplementing laser diffraction data with a microscopy technique is essential to obtain a complete size and shape perspective and truly visualize particle morphologies.
ICP-MS Chemical Signatures with Ultra Trace Sensitivity
To delve beyond physical attributes and into composition, inductively coupled plasma mass spectrometry (ICP-MS) excels. This technique nebulizes samples into an argon plasma reaching temperatures exceeding 6000° C. At these extreme conditions, constituent elements are ionized.
Powerful magnets then separate the ionized elements based on their mass-to-charge ratios as they pass through a quadrupole mass filter. ICP-MS detects metals at part-per-trillion sensitivities, providing precise bulk chemical signatures. However, it averages the signal across all particles in the sample, meaning that subtle variations between individual particles are lost. ICP-MS also requires samples to be dissolved, meaning only overall compositions rather than specific surface chemistry is measured.
While immensely valuable for statistical process control, ICP-MS alone cannot provide the complete chemical perspective needed to fine-tune additive manufacturing processes. Correlation with high resolution surface and particle-specific analysis is essential to extract maximum value from ICP data.
SEM Combined with EDS for Correlative Particle Analysis
Scanning electron microscopy (SEM) fills the gaps left in bulk analytical techniques by enabling high-resolution imaging and elemental characterization on a particle-by-particle basis. SEM instruments scan a focused electron beam across sample surfaces, using the resultant signals to generate detailed information about the surface.
SEM can also probe elemental composition when combined with energy dispersive X-ray spectroscopy (EDS). As the electron beam excites a sample, X-rays are emitted with characteristic energies that can be correlated to specific elements. EDS detectors then collect these X-rays to generate an X-ray spectrum that can be used to identify elements present. The EDS data can be collected simultaneously with the morphological data, thereby enabling identification of the elemental composition at the single particle level.
This correlative approach – made possible with a single instrument – is immensely powerful. By gathering correlated datasets of size, shape, and elemental information from thousands of individual particles, additive manufacturing process engineers can gain a fundamental understanding of how feedstock powder impacts the finished part’s quality and function. For example, they could address questions such as:
- Does particle surface roughness impact powder fusion rates?
- Are certain size ranges compositionally distinct?
- What level of contaminant particles in the feedstock powder can be tolerated without impacting the critical properties of the finished parts?
Chemistry Table |
|||||||||||||||||
| Classification | Particles | [%] | C | O | Mg | Al | Si | Ti | Cr | Mn | Fe | Ni | Cu | Zn | |||
| Ni | 2 | 0.1 | 20.6 | 3.1 | 2.0 | 26.9 | 46.4 | ||||||||||
| Inconel | 4 | 0.3 | 22.8 | 0.7 | 13.6 | 0.8 | 9.5 | 48.4 | 0.6 | ||||||||
| Al | 1 | 0.1 | 23.0 | 2.3 | 70.0 | 4.7 | |||||||||||
| Iron Alloy | 9 | 0.6 | 48.0 | 8.5 | 0.7 | 0.2 | 2.5 | 3.2 | 0.3 | 32.2 | 2.4 | 0.2 | 0.7 | ||||
Average chemical composition reported in %
Automated SEM systems take these principles to the next level by rapidly acquiring and analyzing thousands of multi-parameter particle measurements per sample. Advanced analysis classifies parameters like surface texture and agglomeration while generating correlative size, shape, and elemental datasets. No other technique offers such comprehensive high throughput data – data that empowers researchers to deeply understand additive manufacturing powder behavior and quality.
Conclusion
From powder to final part qualification, additive manufacturing demands advanced analytics. Techniques like laser diffraction and ICP-MS provide invaluable information about the feedstock for additive manufacturing. Correlative SEM/EDS analysis provides additional data about the particles that are not achievable through alternative techniques. SEM/EDS is a good complement to laser diffraction and ICP-MS to generate the comprehensive data needed to fine-tune printing processes while ensuring final part performance. Moving forward, hybrid characterization workflows combining multiple complementary methods will be essential to propel 3D printing progress across industries.

